Activate integration
In SAPIENT, carrier integration plays a crucial role in streamlining shipping processes for eCommerce businesses. The integration allows seamless connectivity with multiple carriers, enabling you to easily manage and monitor your shipping operations from a single platform.
TipYou may need to refer to this section every time you wish to activate a new integration. Therefore, we recommend you to familiarise yourself with this section and understand the icons and functionalities offered in the SAPIENT platform.
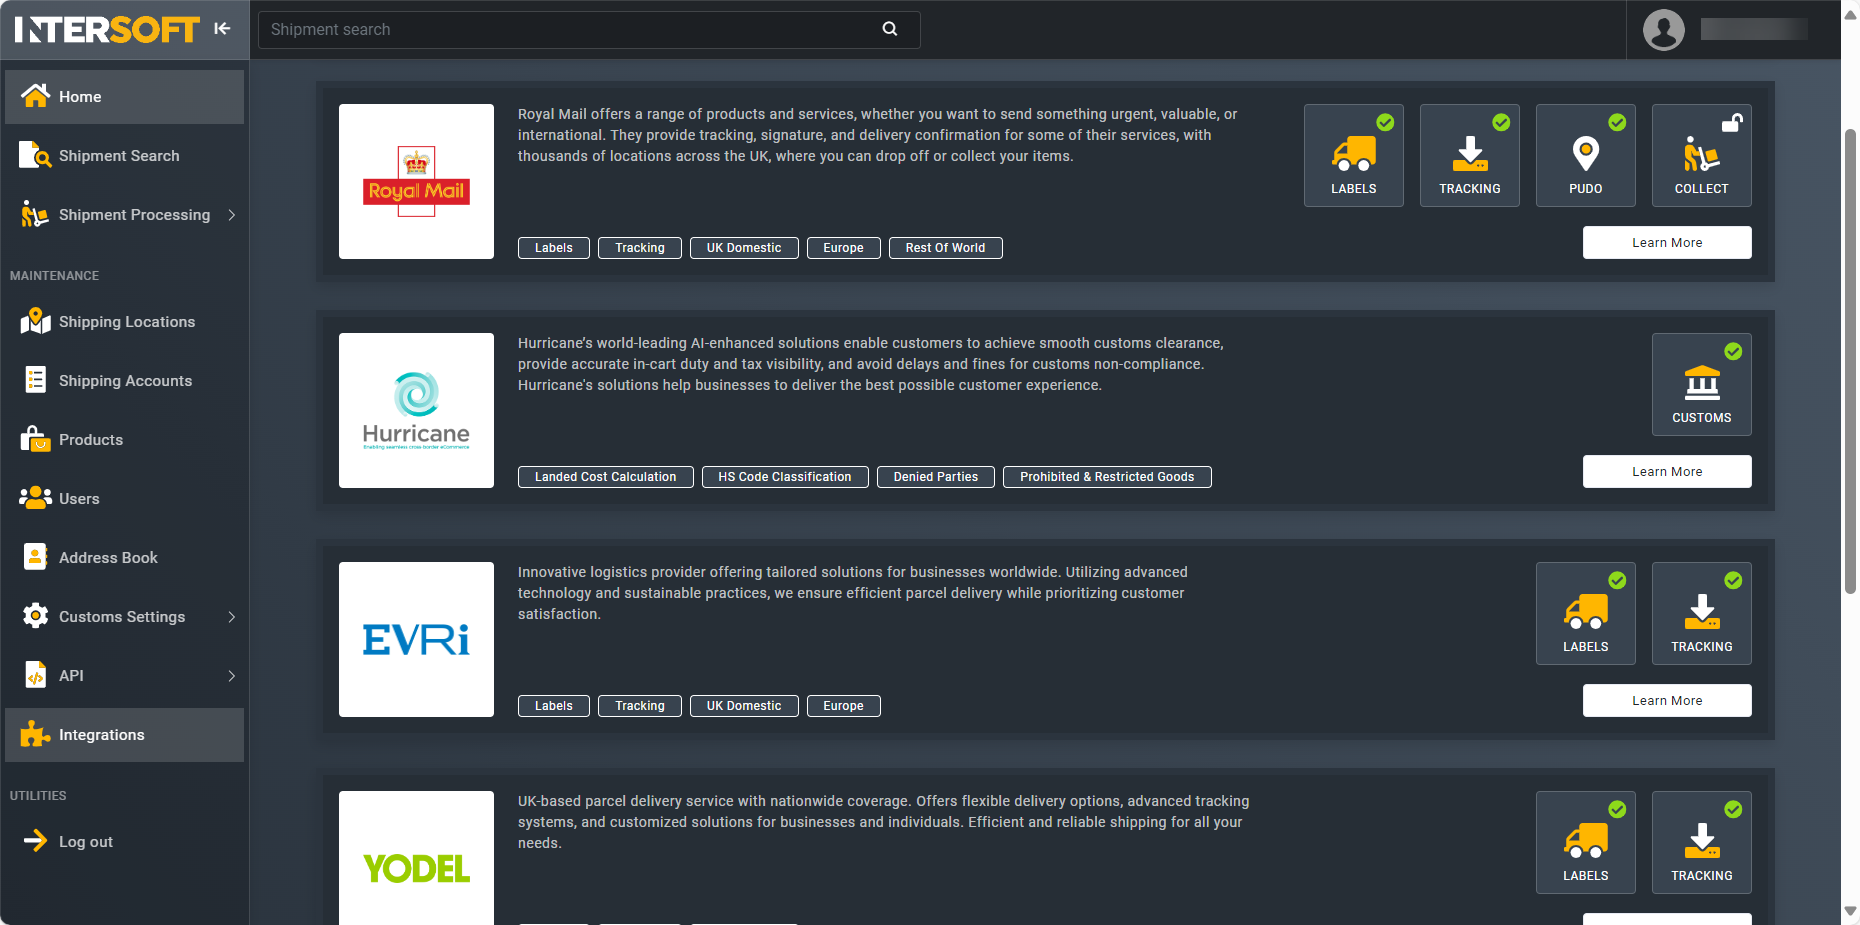
This section explains the components available on the Integrations page of the SAPIENT platform. The Integrations page displays the carrier(s) that are available or coming soon to the platform. Each carrier has its own specific block with its description of what it offers as well as showcasing its available integration types. You can click into the carrier specific page by clicking their logo or the Learn More button.
Access integrations page
To access the Integrations page, perform the steps as explained in the following procedure:
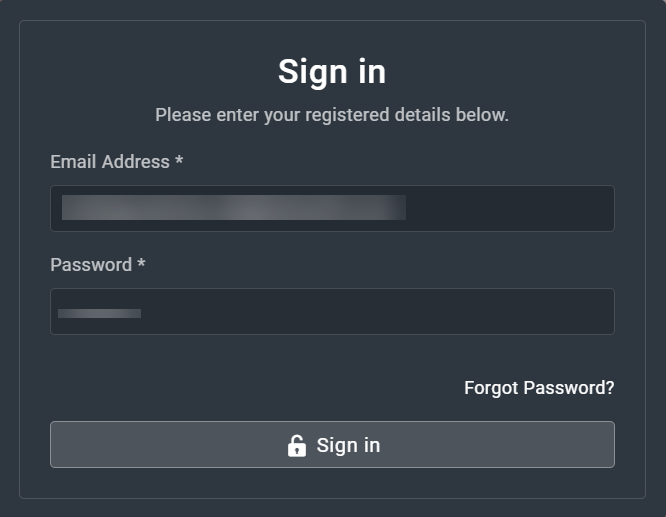
- Log in to the SAPIENT platform using your credentials.
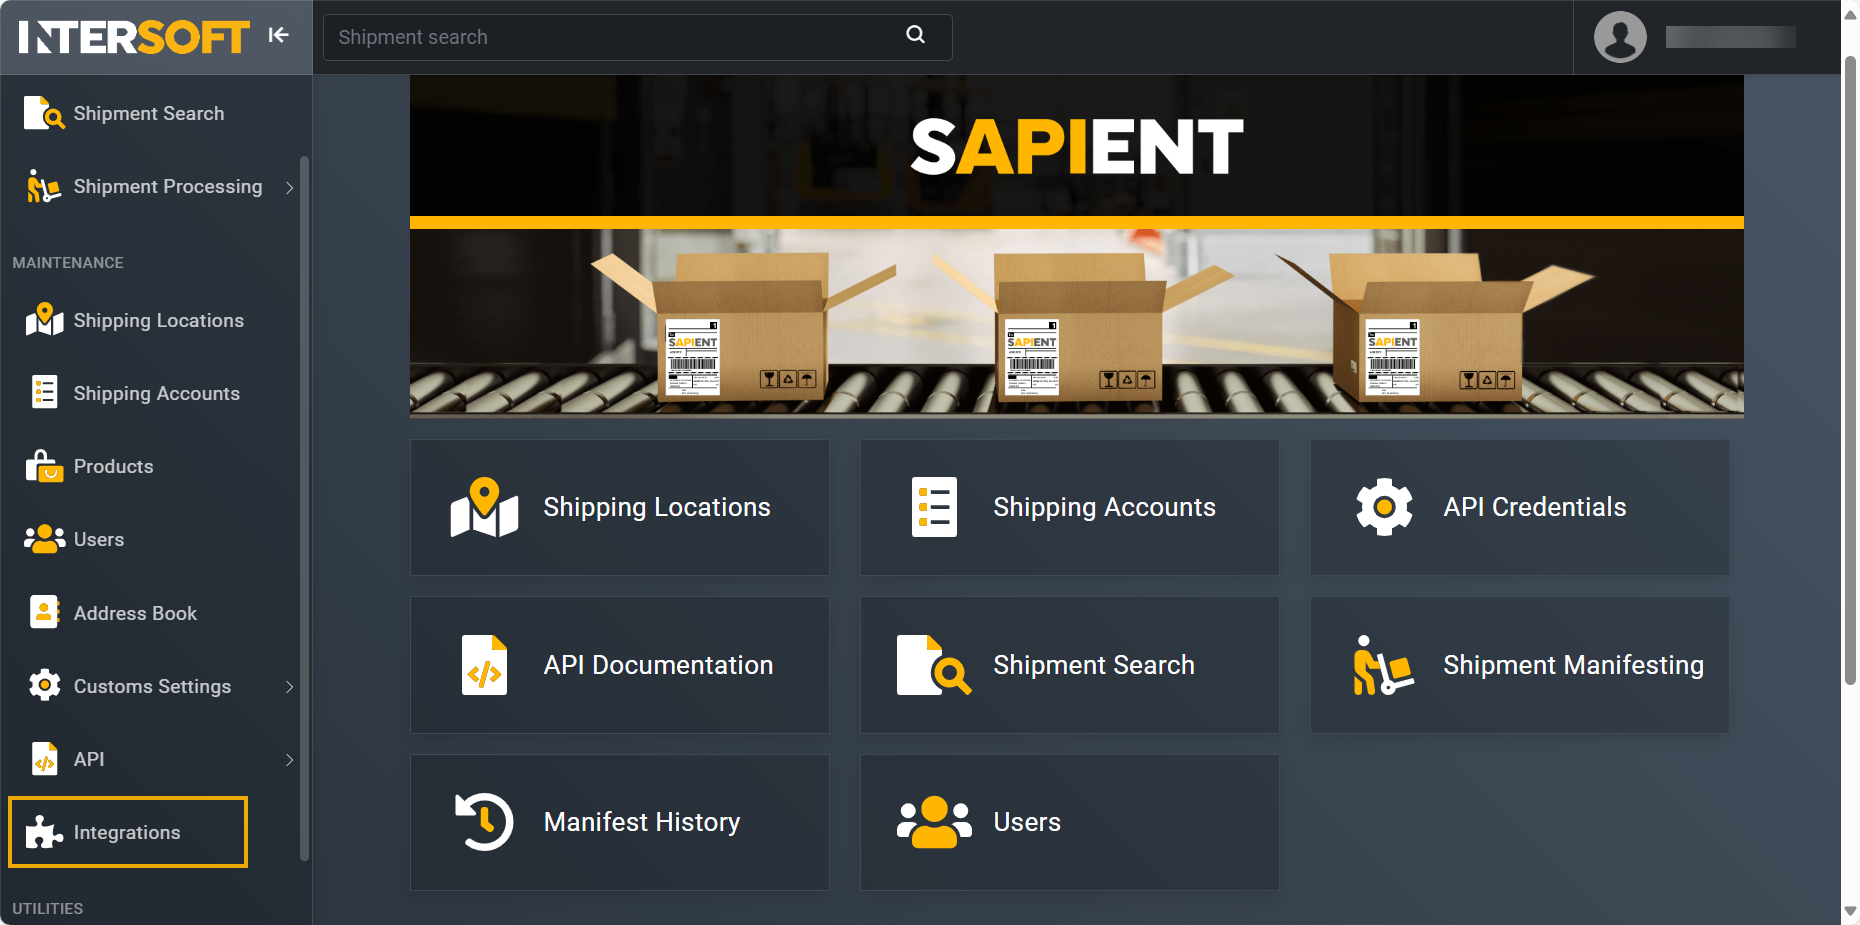
- On the Home page that opens, in the left navigation panel, select Integrations.
ImportantTheIntegrations page contains access to some services that are chargeable, the associated fees are stated during the process. If you activate any of the chargeable services, you will be invoiced directly and any associated usage fees will be applied going forwards. Only approved personnel from your company should be given permission to access these pages and activate these services.
- On the Integrations page that opens, next to each carrier, the following integration types are displayed with their corresponding icons and symbols. Please select the needed integrations as per your business requirements.
Integration types
Each carrier offers different integration types, represented by specific icons and symbols. Here's what each one means:
| Integration types and icons | Description |
|---|---|
 | Create shipments and labels. |
 | Receive tracking data for shipments via the tracking webhook. |
 | Retrieve a list of available PUDO locations for local collect and return services. |
 | Arrange the collections via an API. Mostly referred to as the home collection service. |
 | Manage compliance with cross-border trade. |
 | Get more information on the carrier-specific integrations and services. |
 | Represents the integrations that are not yet available and coming soon! |
 | Represents the integrations that are available on the platform but are not activated by you. |
 | Represents the integration that are activated and ready to be configured. |
After viewing the general information, you may select a particular carrier that you wish to integrate with and learn more about its additional features and services.
Carrier-specific integrations
The carrier-specific integrations can be accessed by selecting the carrier on the Integrations page. The carrier-specific page provides you with the full range of additional features and services offered by that carrier.
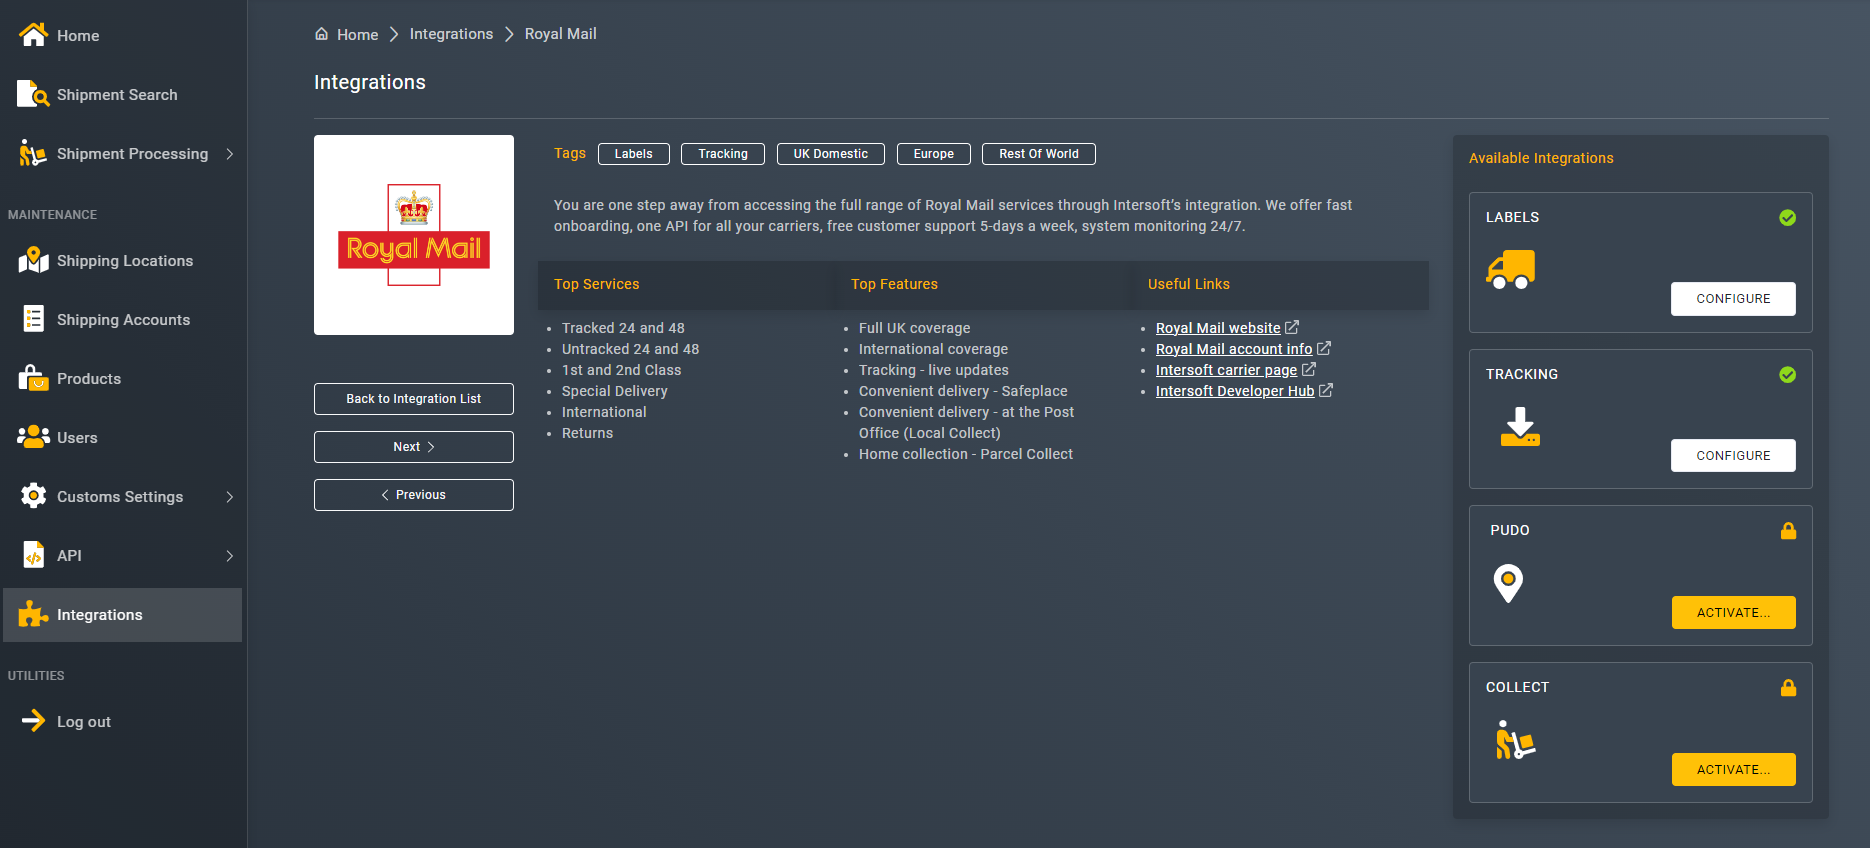
- Top Services
- Top Features
- Useful Links
Activate integration
After you have viewed the carrier-specific integrations and have decided to move forward with that carrier, you can now activate the integration. To do so, follow the instructions provided in the following procedure:
- Select the carrier that you want to integrate and then choose the integration that that you want to activate for that carrier.
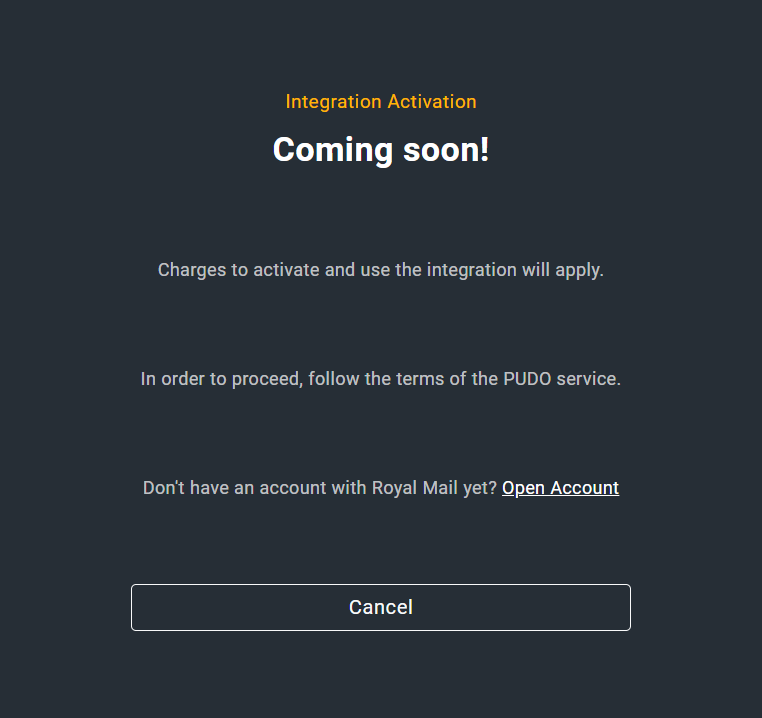
- Based on your selected integration type, you may see one of the following Integration Activation screens.
| Available integration | Pricing and contract agreement | Upcoming integrations |
|---|---|---|
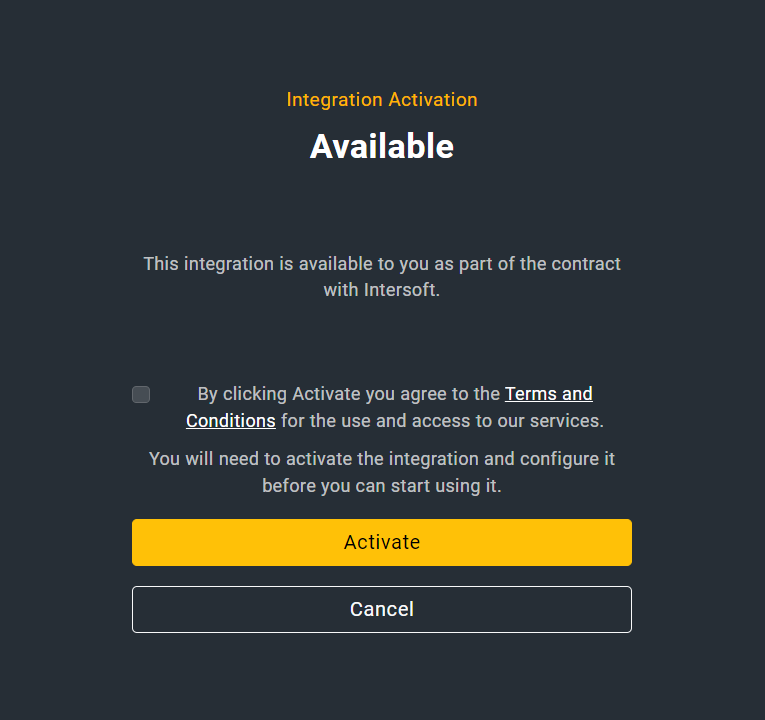 | 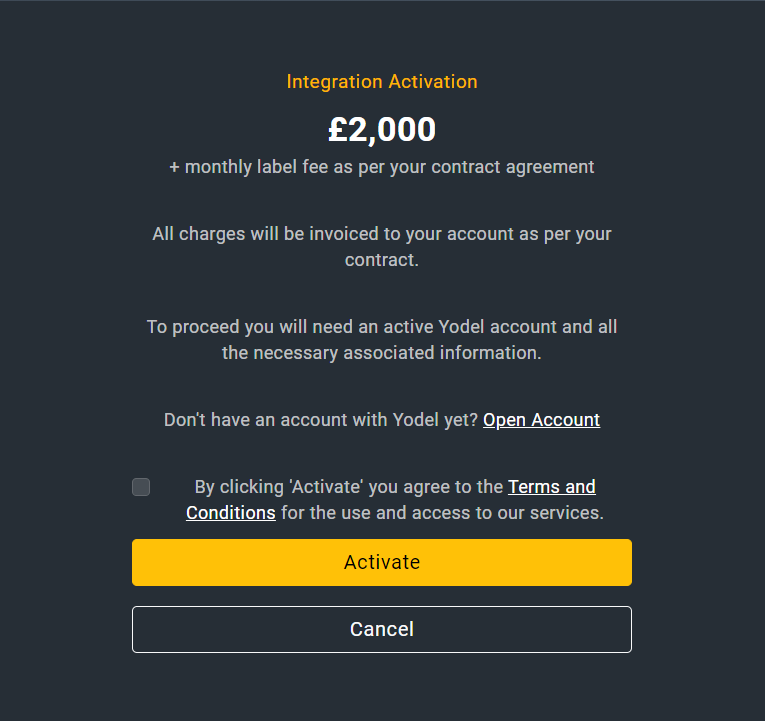 |  |
- In the Integration Activation screen, select the Terms and Conditions checkbox to agree to the company's terms on accessing and using their services.
ImportantYou can only use the integration once you have activated it.
- After the integration is activated, you can now start configuring it. For more information on how to configure the integration, refer to the Carrier specific user guides section.
Once the activation is confirmed, the system sends an email to the main user on the account as well as to the one who activated the integration.
NoteIf you do not see the carrier(s) you are looking for, please reach out to our Customer Solutions team at[email protected] and we can consider getting these added in our upcoming deployment.
Updated 23 days ago
